How to install and configure the PWA Stacks
Quick Links
Quick Links
Add the PWA Stack to the top of your home page, before any other stacks.
Advanced Caching Only
To use advanced caching only with the default Cache Strategies, no configuration is neccessary. Just add the PWA Helper Stack to all of your other pages and publish your project.
On first visit to your home page, the Service Worker will be created in your document root.
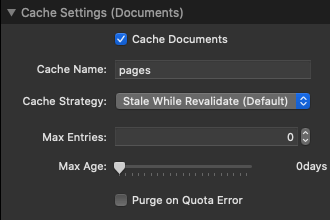
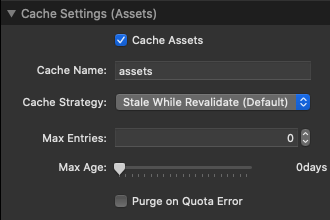
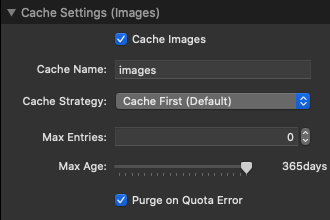
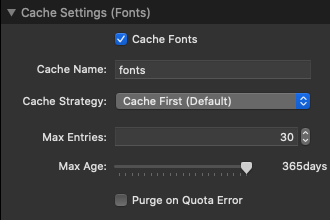
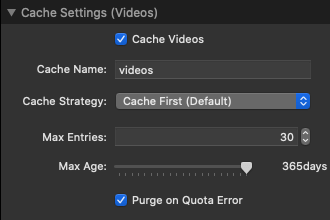
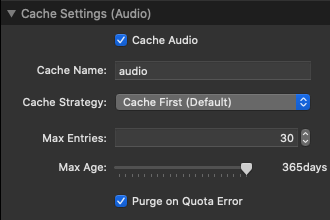
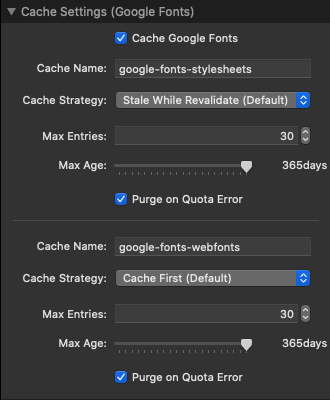
You can modify the Cache Strategies in the PWA Stack Settings. See below for more information about Cache Strategies.
Important : Any time you make changes to the PWA Stack settings, you should visit your home page to recreate the Service Worker.
Important : To avoid any conflicts, you should disable any server side cache settings, such as in the htaccess file, or the LiteSpeed Expires seting.
PWA Installation
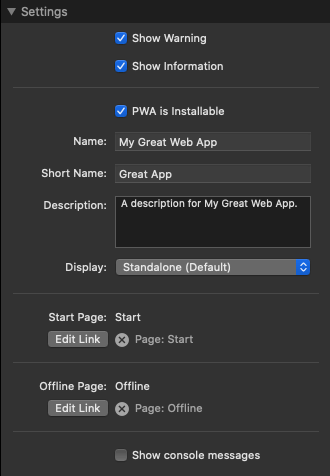
You can make your PWA installable on users desktop and mobile devices. Check the PWA is Installable checkbox to enable this option, and you will be presented with the settings required to create a Web App Manifest file.
The Start Page is optional, but the Offline Page is mandatory.
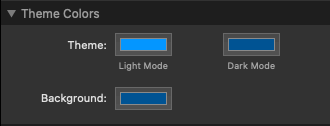
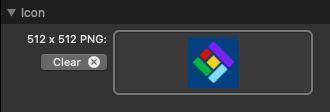
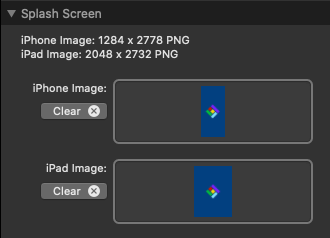
Use image sizes as specified in the stack settings. Other required sizes are created automatically when you preview or publish the page. This may slow down the preview of your home page on older Macs.
Multiple PWAs
While you would typically only add one PWA to your site, you also have the option to add multiple PWAs on one website.
An example of this could be:
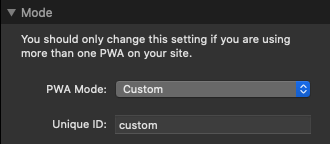
To add a second PWA, the index page must be in a subfolder (e.g. /siteadmin/index.php). Change the Mode to be either Admin, or a custom unique mode name. Configure the second PWA using the same instructions as above.
public_html /
	|- index.php (User PWA)
	|- offline.php
	|- about / index.php
	|- blog / index.php
	|- contact / index.php
	|- siteadmin / index.php (Admin PWA)
	|- siteadmin / blog / index.php
	|- siteadmin / offline.php
Pre-Caching Resources
There may be resources that are not covered by the existing Cache Strategies. These resources can be pre-cached by checking the Precache additional URLs checkbox.
When the PWA is installable, the Offline Fallback Page is always pre-cached.
See below for additional information about Precaching Resources.
Custom Cache Strategies
There may be pages or paths where you want to apply a different Cache Strategy than what is used on the rest of your site.
For example, if your blog page is constantly changing or being updated, you can add a Custom Cache Strategy that uses a Network First strategy for the html document only. This ensures that the visitor always receives the latest blog page content, but the CSS, Javascript and images are still served from the cache.
See below for additional information about Custom Cache Strategies.
Not everyone who visits your webpage, visits the home page first, therefore the PWA Helper Stack is required on your other pages to make sure that the Service Worker gets loaded and starts running.
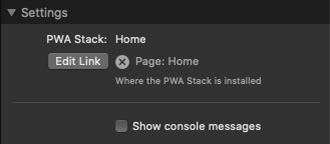
Add the PWA Helper Stack to the top of all your other stacks pages, and set the PWA Stack link to the page where you added the PWA Stack (normally your home page).
If you changed the Mode in your PWA Stack settings, then set the corresponding Mode here.
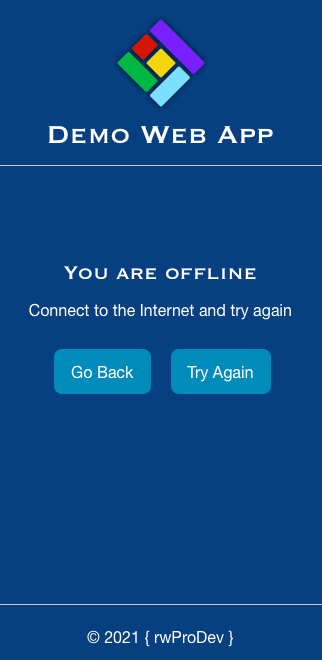
When you enable installation in the PWA Stack settings, you need to provide a dedicated Offline Fallback Page. This page is pre-cached and displayed when your PWA users connection to the Internet is lost, and they try to navigate to a page that has not yet been stored in the cache.
You should keep your offline page as simple as possible, and provide Back and Refresh buttons. Add the PWA Offline Stack to this page, and disable the Show in navigation setting in the RapidWeaver Page Inspector.
If you are adding more than one PWA to your site, you can use the same offline page for each PWA, or create separate pages.
Important : The offline page should be located in same folder that you installed the PWA Stack. Name the file offline.php or something similar.
public_html /
	|- index.php
	|- offline.php
	|- about / index.php
	|- services / index.php
	|- contact / index.php
The start page is the page that is displayed when the user first opens your PWA on their device. You can set this to the home page, or create a custom start page.
An example of a custom start page is used in the PWA demo project, and shows the latest blog post or news. The start page is also using a custom cache strategy (Network First) so that it always displays the latest content.
On Android devices, an Add to Home Screen message is displayed automatically if the PWA is installable. IOS does not have this capability yet, so you can add the PWA Install Stack to all of your pages.
Add the PWA Install Stack to the bottom of the page so that it loads after everything else.
A cache strategy is a pattern that determines how a service worker generates a response after receiving a fetch event.
The PWA Stack comes with 4 cache strategies.
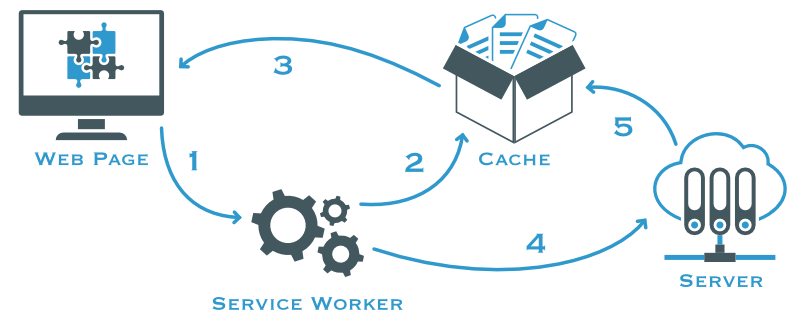
The stale-while-revalidate strategy allows the service worker to respond to the request as quickly as possible with a cached response if available, falling back to the network request if it’s not cached. The network request is then used to update the cache. This strategy will always make a revalidation request, regardless of the age of the cached response.
This is a fairly common strategy where having the most up-to-date resource is not vital to the application.
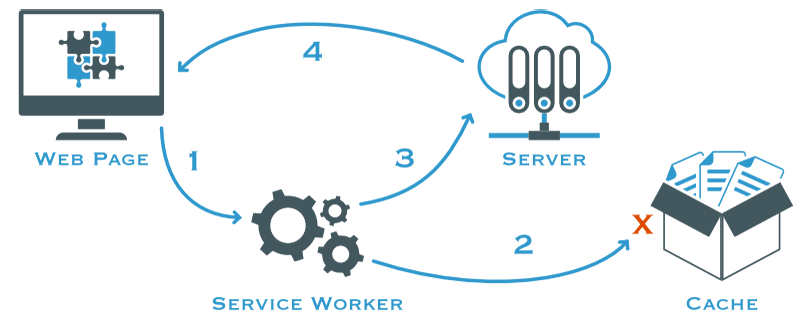
For assets that are non-critical and can be gradually cached, a Cache First strategy is the best option. If there is a response in the cache, the request will be fulfilled using the cached response and the network will not be used at all. If there isn't a cached response, the request will be fulfilled by a network request and the response will be cached so that the next request is served directly from the cache.
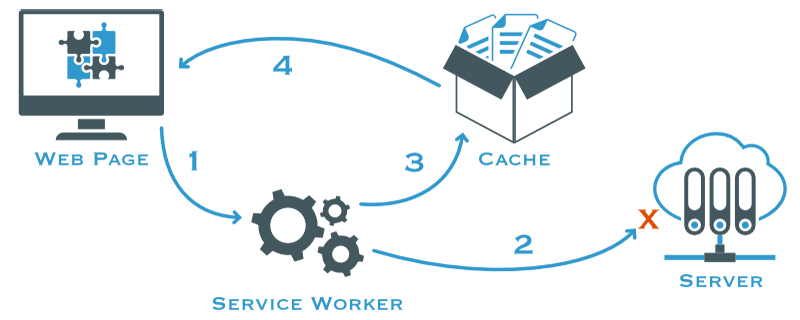
For requests that are updating frequently, the Network First strategy is the ideal solution. By default, it will try to fetch the latest response from the network. If the request is successful, it’ll put the response in the cache. If the network fails to return a response, the cached response will be used.

If you require specific requests to be fulfilled from the network, Network Only is the strategy to use.
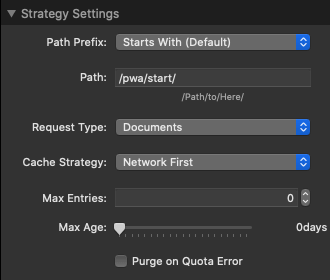
You can set the overall cache strategies in the PWA Stack settings, however you can also fine tune the Service Worker by adding custom cache strategies at the page level.
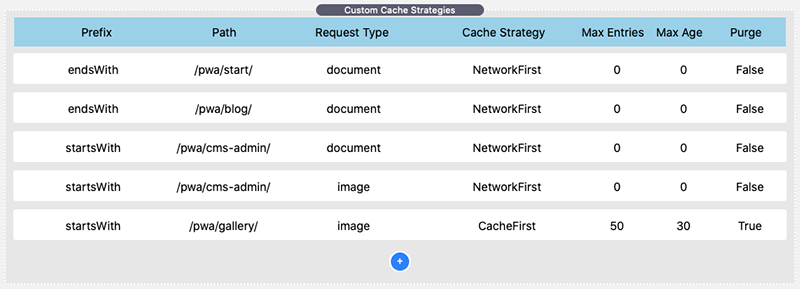
In the example above, the following custom cache strategies are used:
When the install option is enabled in the PWA Stack, you must create an offline fallback page. This offline page is always pre-chached when the user first visits your website, the offline page has a newer version, or the Service Worker is updated.
You also have the ability to pre-cache any other file or resource that you choose by adding it to the Pre-Cache section of the PWA Stack. I recommend leaving the version on Auto, which uses a timestamp as the version number.

Before configuring PWA Push Messages, make sure that your app is set up in Firebase. If you're not sure, visit Introduction to Firebase for details on how to get started.
Go to your Project Settings in the Firebase Console, and under the General tab, you will find your app settings.
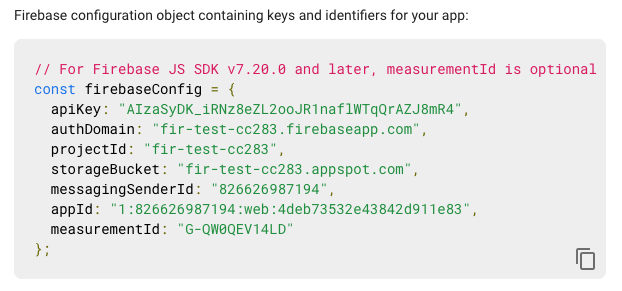
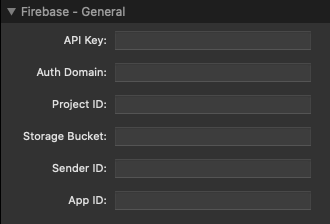
Add the PWA Messages Stack to the bottom of your home page. Copy each setting from the Firebase Configuration, and paste it into the corresponding PWA Messages Stack -> Firebase - General setting.
Next, go to the Cloud Messaging tab, and under Web Push Certificates, click on the Generate Key Pair button.
Copy the newly created Key and paste it into the PWA Messages Stack -> Firebase - Cloud Messaging setting.
You should add the PWA Messages Helper Stack to all your other pages. This stack prompts the user to accept Web Push Notifications if they visit your website without going via the homepage.
You can now publish your site and visit the home page (or the page where you installed the PWA Push Messages Stack) to generate the Service Worker. No matter where you install the PWA Push Messages Stack, this Service Worker will be created in your absolute document root folder (e.g. public_html).
You will use the Firebase Console to send push messages to your PWA users. Under the Spark Plan, you can send unlimited push messages for free.
In the left sidebar, under the Engage submenu, click on Cloud Messaging.
If this is your first time, click on the Send your first message button, otherwise you can click on New Notification.
Now you can either save the notification as a draft, or click on Review, and then Send.
PWA users on Android devices, and Chrome users on desktop devices should be prompted to enable notifications when they first visit your website. If they have accepted, they should receive your notifications sent from the Firebase Console. During testing, notifications arrived anywhere between 1 to 20 minutes after being sent.
Safari is not yet supported, and as Chrome on IOS uses the Safari engine, that won't work either. We eagerly await Apple to follow other browsers in allowing Web Push Messages for PWAs.
If you don't own an Android device to test this out, you can download and install Android Studio. When creating a virtual device in the AVD Manager, make sure you select a device with the Play Store version. There are many tutorials on YouTube about how to install an Android virtual device.
Once your virtual device has started, navigate to your PWA in Chrome and accept notifications.
Here's the proper markup for a media asset:
<!-- In your page: -->
<!-- You need to set `crossorigin`, even for same-origin URLs! -->
<video src="movie.mp4" crossorigin="anonymous"></video>
<audio src="song.mp3" crossorigin="anonymous"></audio>