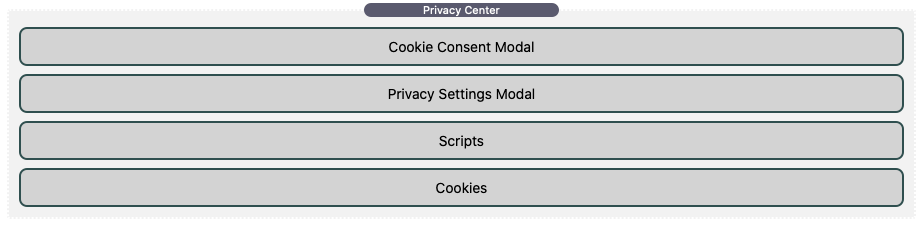
The Privacy Center consists of 6 main parts:
- The Privacy Center
- The Cookie Content Modal
- The Privacy Settings Modal
- Scripts
- Cookies
- The Privacy Conditional Stack
Additional Information
Part 1: The Privacy Center
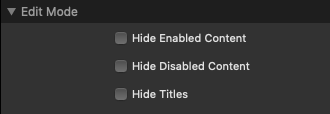
Drag and drop the Privacy Center Stack on your page, preferably at the bottom, after all of your content. You can hide sections as necessary to keep your page tidy in Edit Mode.
Work you way down the through the stack settings in the page inspector. You can change the fonts, colors, and styles of both modals to match your website, and configure the optional Privacy Settings Button.
Cookie Consent
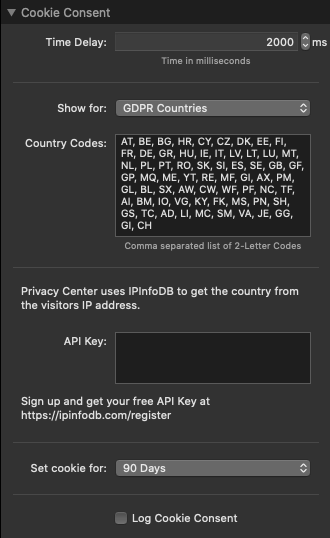
Here you can select and customise when to display the Cookie Consent Modal. Select to show for all countries, GDPR countries, or a custom list of countries.
Selecting either of the latter two options requires the Privacy Center to map the visitors IP address with their country. You will need to get a free API key from IPinfoDB and paste it into the API Key setting. If at any time, there is no connection to the IP database, or the country can not be ascertained, then the Cookie Consent Modal will display by default.
Log Cookie Consent : Enable this setting to log cookie consent to a local log file in your document root. While you don't need a PHP extension for this to work, you do need PHP installed on your server.
2021-02-25 14:50:19, Accept All, 01.23.456.789
2021-02-25 18:49:28, Accept All, 098.765.43.21
2021-02-26 06:12:57, Accept All, 2008:e6:cf0e:de00:1ce4:c96c:e0b1:1e43
2021-02-26 16:42:51, Manage, {"Lang":"EN","cat2":"Off","cat3":"Off","cat4":"Off"}, 01.23.456.789
Categories
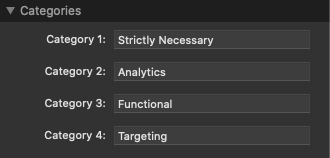
Assign names to the categories that you will be using. This is for your reference when assigning these categories to scripts and cookies later on. You can hide any unused categories later on while configuring the Privacy Settings.
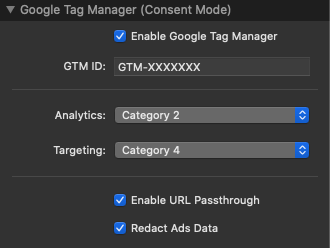
Google Tag Manager (Consent Mode)
If you use Google Tag Manager to manage your Google Analytics and Google Ads, then this is a great way to integrate GTM into your website.
Enable the Google Tag Manager, enter your GTM ID from Google Tag Manager, and set the cookie categories for Analytics and Targeting / Advertising.
The Google Tag Manager script will always be loaded into the page header, but the Google Analytics or Google Ads cookies will not be set unless the corresponding cookie category has been enabled.
Enable URL Passthrough : When a user lands on your website after following an ad, information about the ad may be appended to your landing page URLs as a query parameter. In order to improve conversion accuracy, Google tags usually store this information in first-party cookies on your domain.
However, if the targeting cookie category is disabled, Google tags will not save this information locally. To improve ad click measurement quality when targeting cookies are disabled, you can optionally elect to pass ad click information through URL parameters across pages.
Redact Ads Data : When targeting cookies are disabled, new cookies will not be set for advertising purposes. Additionally, third-party cookies previously set on google.com and doubleclick.net will not be used except for spam and fraud purposes. Data sent to Google will still include the full page URL, including any ad click information in the URL parameters.
When Redact Ads Data is enabled, ad click identifiers sent in network requests by Google Ads and Floodlight tags will be redacted. Network requests will also be sent through a cookieless domain.
You can find out more information here: https://developers.google.com/gtagjs/devguide/consent#ad_click_information
Note: If you use Google Tag Manager to load other scripts, they will load as normal, but the Privacy Center will have no control over any cookies that are set by these scripts. It is recommended that if your other scripts set cookies, then you install the script in the Privacy Center and assign a category.
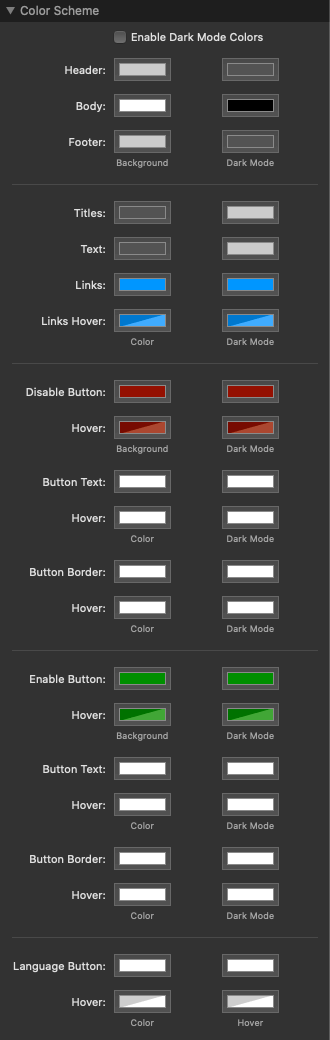
Modal Styles
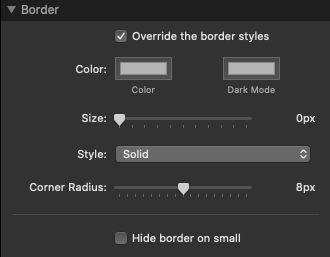
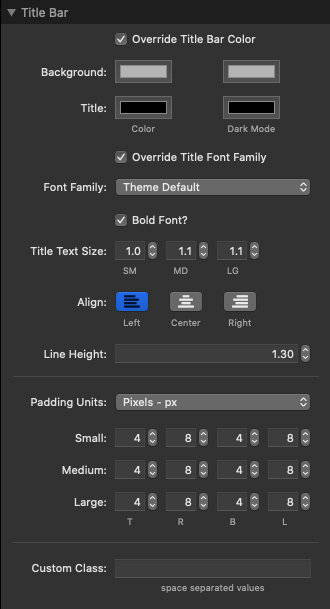
The remainder of the Privacy Center settings control the style of the Cookie Consent and Privacy Settings Modals. Any styles set here will be applied to both modals, although you do have the option to override any style from within each individual modal's settings.
Enable the Dark Mode Colors : If you utilise Dark Mode, enable this setting. By default, RapidWeaver will always display the dark mode colors in edit mode, so you should style light mode first before enabling this setting.
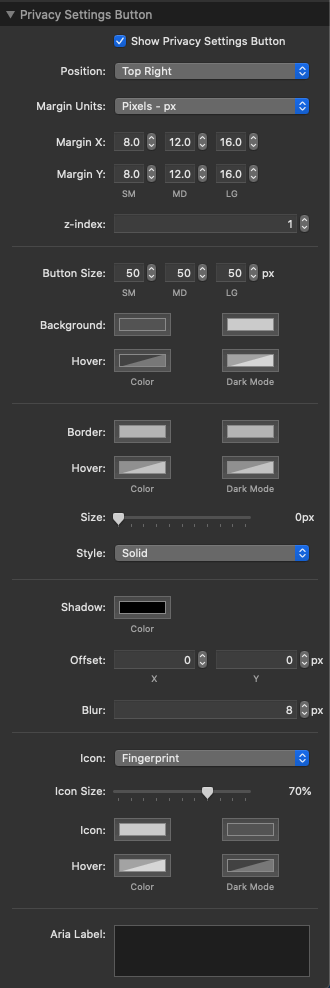
Privacy Settings Button
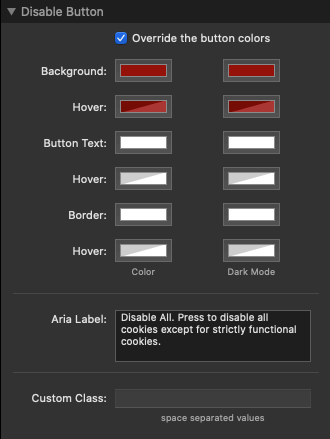
You have the option to display the Privacy Settings Button on your page. When a visitor clicks the button, the Privacy Settings Modal will open allowing them to manage their settings. Set the position of the button, change the style to match your website and enter the Aria Label.
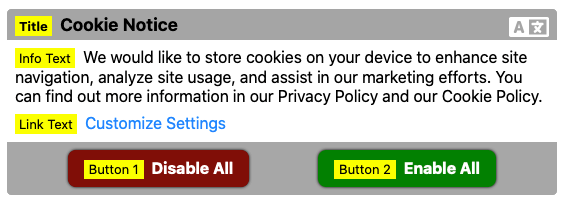
Part 2 : The Cookie Consent Modal
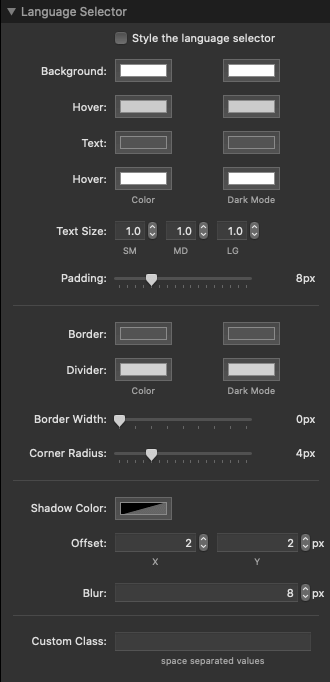
The Cookie Consent Modal settings allow you override any of the fonts, colors and styles that you set in the Privacy Center and really fine tune your modal's look and feel.
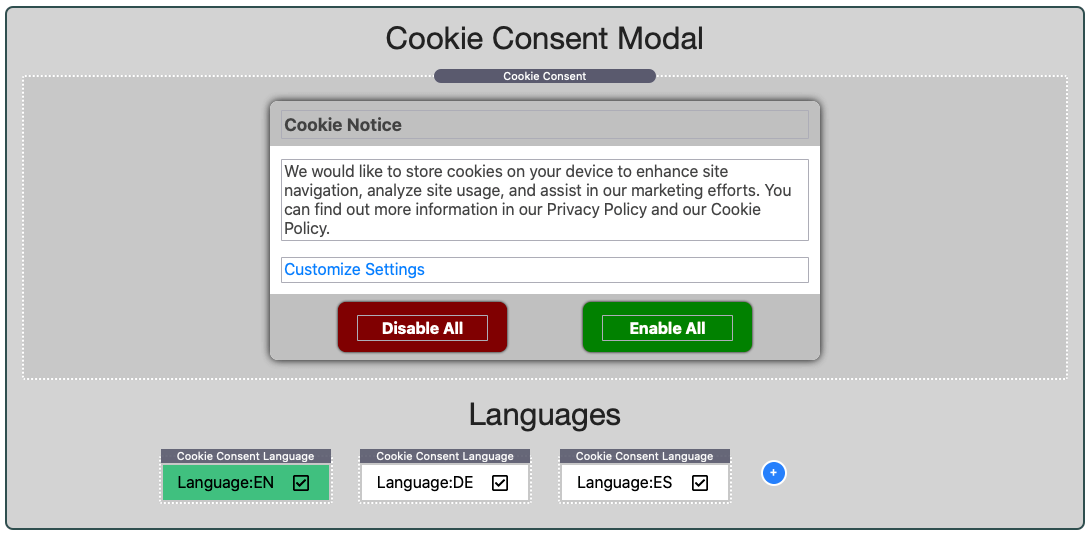
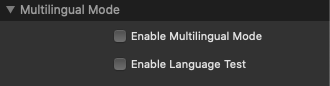
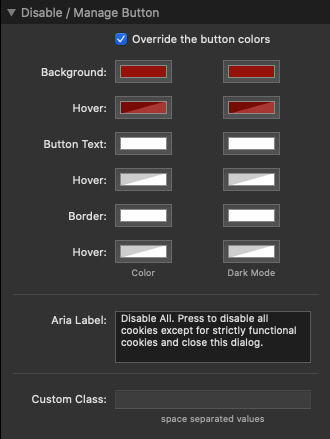
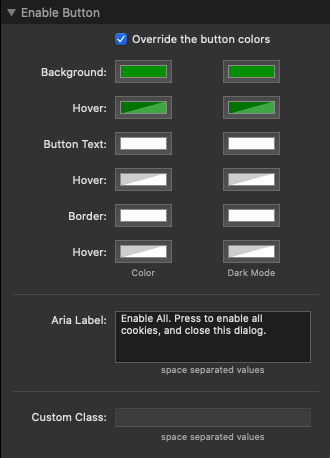
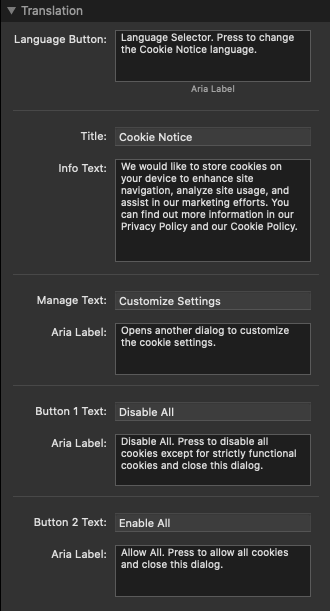
If you are not using Multilingual Mode, you can edit all the titles, text and buttons by double clicking each element. Remember to edit the Aria Labels in the Stack Settings.
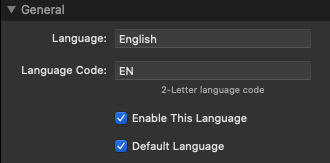
If you are using Multilingual Mode, then the visible text is not editable. All text should be edited in the added languages. Enable the Translate Legend to help you assign your text to the correct element.
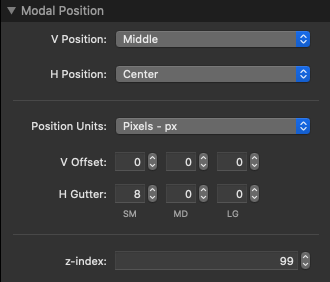
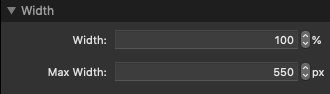
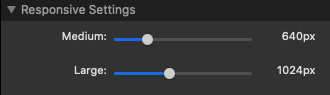
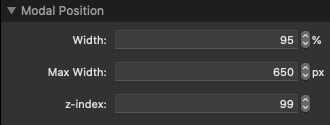
Modal Position : You can customise the width and position the modal just about anywhere on the page. To display a full width banner, set the Layout to Layout 3, the max width to 2000px, and override the header and footer colours to match the modal body.
Modal Styles : Colors and fonts are from the master styles assigned in the Privacy Center settings, however you can override and fine tune any modal style setting as necessary.
Aria Labels : Set the aria labels for the settings link and the buttons.
Part 3 : The Privacy Settings Modal
Just like the Cookie Consent Modal settings, the Privacy Settings Modal settings allow you override any of the fonts, colors and styles that you set in the Privacy Center and really fine tune your modal's look and feel.
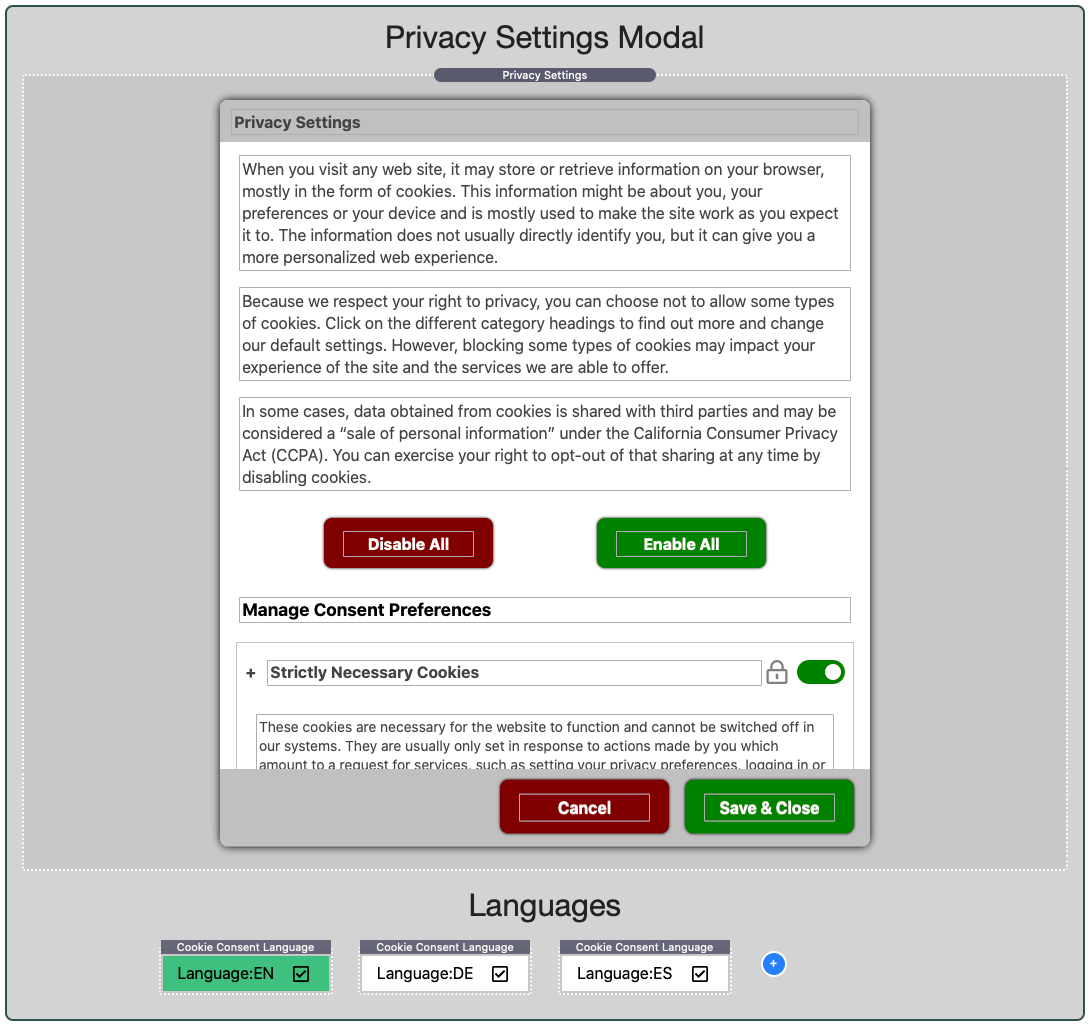
The Privacy Settings Modal can opened from either the Cookie Consent Modal, the Privacy Settings Button, or from a link. To use a link, set the class name to 'openprivacysettings'.
<p class="openprivacysettings"><a href="javascript:void(0);">Manage Privacy Settings</a>
<a class="openprivacysettings" href="javascript:void(0);">Manage Privacy Settings</a>
If you are not using Multilingual Mode, you can edit all the titles, text and buttons by double clicking each element. Remember to edit the Aria Labels in the Stack Settings.
If you are using Multilingual Mode, then the visible text is not editable. All text should be edited in the added languages. Enable the Translate Legend to help you assign your text to the correct element.
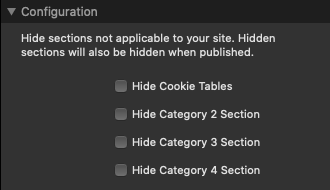
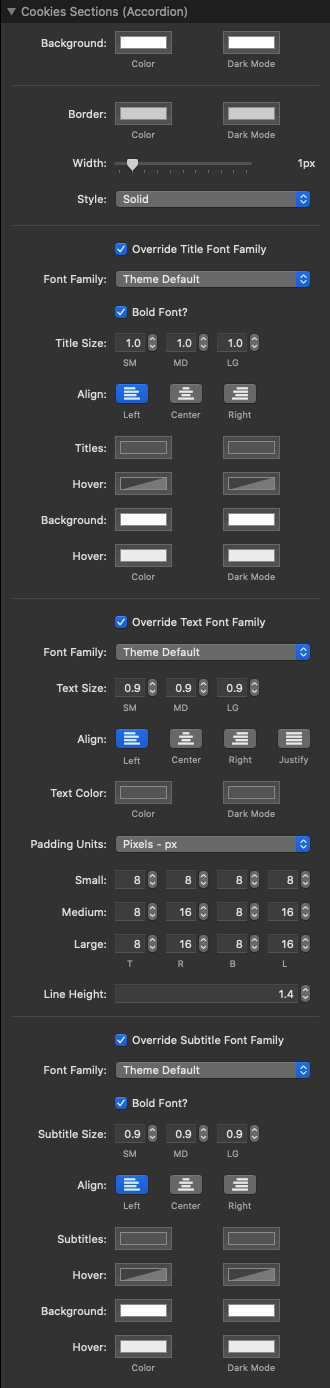
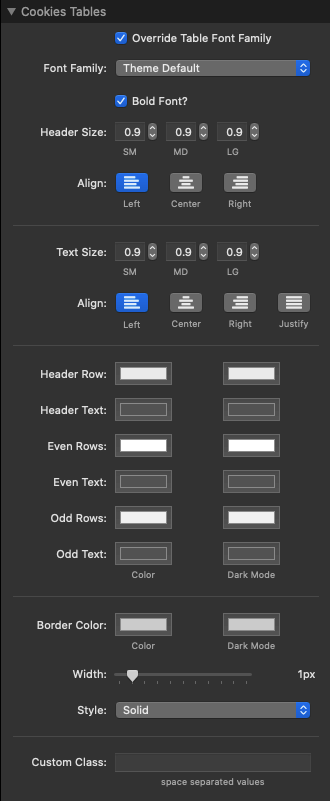
Configuration : You can hide the cookie tables or even complete sections from public view. For example, if you are only using section 2 for analytics, then you can hide sections 3 - 6 from public view.
All of the other settings are for overriding master settings that were set in the Privacy Center, and fine tuning the overall look and feel of the modal.
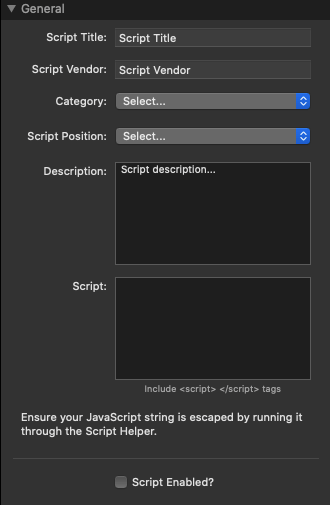
Part 4 : Scripts
This is where you can add any 3rd party scripts, such as Google Analytics, Chat Scripts, Facebook Pixel. Any scripts which fall into the Strictly Necessary category, should be added to Category 1 so that they will always load no matter what the visitors privacy preferences are. Other scripts should be assigned to categories as required and will only load if that category has been enabled.
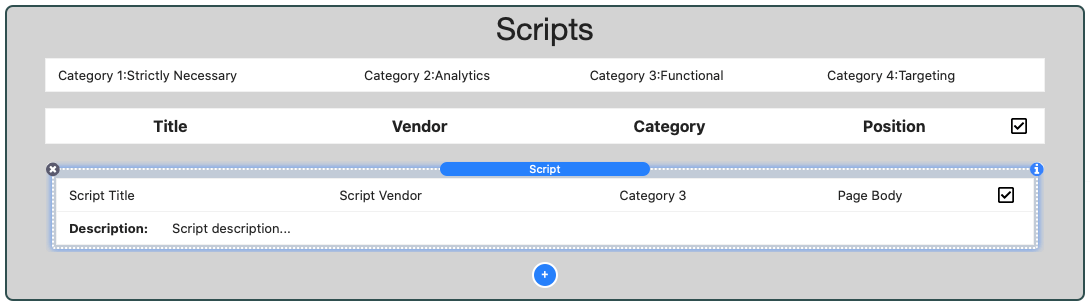
Script Title and Description are purely informational, and there to help you in the future, remember why you have installed this particular script.
Script Position is either Page Header, or Page Body. The provider of your script will usually let you know which position is required.
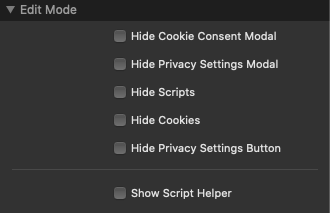
Before you paste your script into the text box, use the Script Helper to properly format the script for use with RapidWeaver (see below).
It is recommended that you enable and test your scripts one at a time so that you can see which cookies each script stores in the browser and add them to the list of cookies below.
Important : If you use the Google Tag Manager (Consent Mode) to load your Google Analytics or Google Ads, do not add those scripts here.
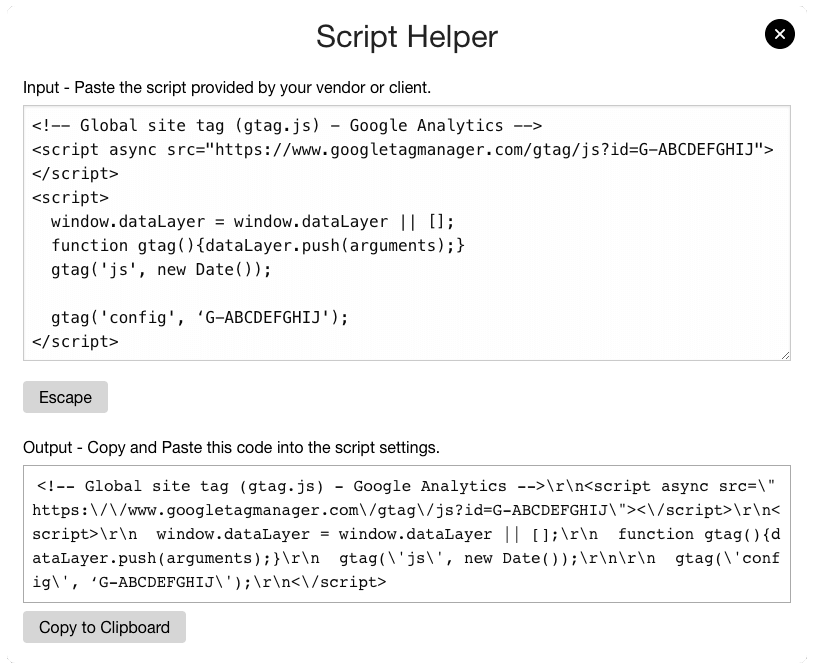
Script Helper
Enable the Script Helper in the Privacy Center. Paste your script code, including <script> tags, and press the 'Escape' button. The Script Helper will format your script for use with RapidWeaver. You can copy the formatted script code to the clipboard and paste it into your new script.
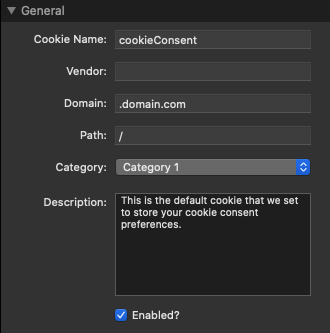
Part 5 : Cookies
If you would like your visitors to be able to see which cookies have been installed, first make sure that the Hide Cookie Tables is not checked in the Privacy Settings Modal Settings. Each time you add a script (above), publish your site and view a page in the browser of your choice.
Make sure the script is loaded by enabling the category in Privacy Settings. Right click on the page and select "Inspect Element" or press ⌥⌘I to open the Web Inspector.
Go to the Storage Tab (Safari) to see which cookies you new script has stored. For each new cookie, add a new Cookie Stack in RapidWeaver by clicking the blue + button.
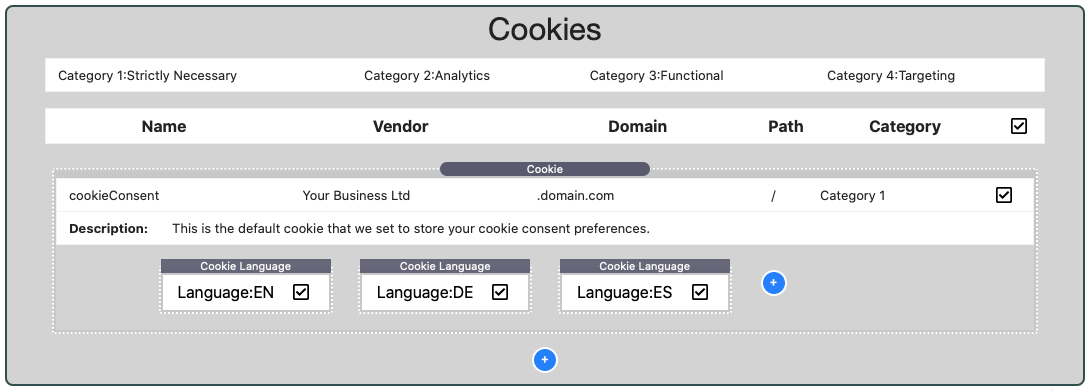
Cookie Stack Settings
- Cookie Name : enter the cookie name exactly as it is in the browser Web Inspector.
- Vendor : who provided the script (Your business, Google, Facebook, etc...).
- Domain : enter the domain exactly as it appears in the browser Web Inspector.
- Path : enter the Path exactly as it appears in the browser Web Inspector.
- Category : select the category, usually the same as your script category.
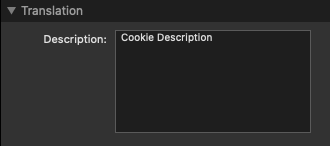
- Description : enter the cookie description. You can find a list of resources below to search for your cookie description. You visitor will be able this description in the cookie table.
- Enabled : disabling the cookie will prevent it appearing in the cookie table.
- Show Languages : show the languages below each cookie, where you can add translations for each description.
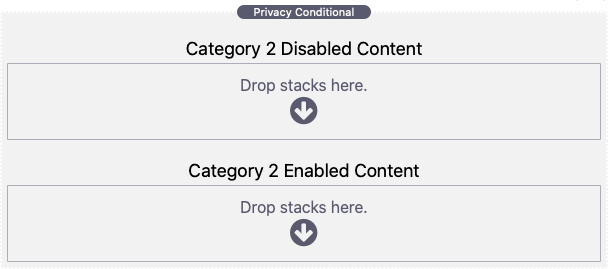
Part 6 : The Privacy Conditional Stack
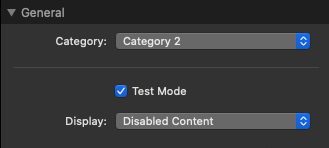
You can use multiple Privacy Conditional Stacks anywhere on the page to load content based on whether or not the privacy categories are enabled or disabled. Just drop in your content and select the category.
Important : This stack requires PHP.